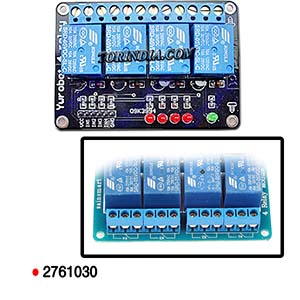
To connect the 4 Relay board to an Arduino is very easy and allows you to turn on and off an wide range ofdevices, both AC and DC. The first to connections are the ground and power pins, You need to connect theArduino +5v to the 4 Relay board VCC pin and the Arduino ground to the 4 Relay board GND pin. Then it’sa only a matter of just connecting the communication pins, labeled IN1, IN2, IN3 and IN4, two 4 data pinson the Arduino.In the example code below I used Arduino pins 7, 8 , 9, 10. I avoid using Data pins 0 and 1 as they are usedby the Arduino for serial communication and can cause problems when uploading code to the Arduino.The default state of the relay when the power is off for COMM (power) to be connected to NC (normally closed),this is the equivalent of setting the 4 Relay boards IN pin to HIGH (has +5v sent to it) It is a safety feature to notuse the NC connector in-case you Arduino looses power it will automatically turns off all the devices connectedto the relay. When you have something connected to the relays NO (Normally Open) connector and you set thecorresponding IN pin to LOW (0v), power will flow in from the COMM connector and out of the NO connectorpowering your device..